How To Fix “No New Transactions Available” When Importing QBO File?

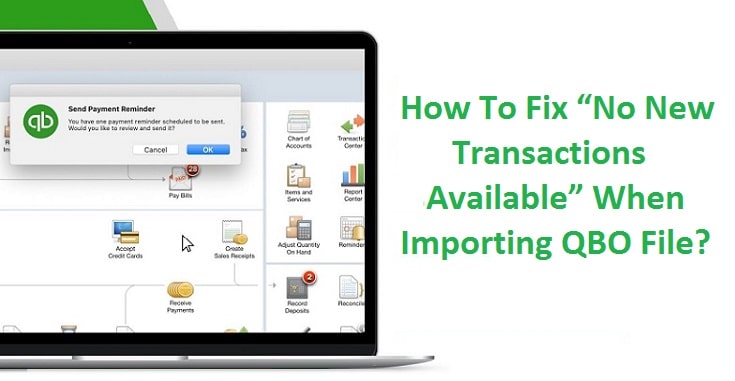 QuickBooks allows the users to import the transactions directly from the financial institutions through the Banking option. Indeed a superb way to speed up the import process which helps in maintaining the data accuracy, but sometimes throws an error message “There are no new transactions available”.
The error generally happens when a user tries to import a web connect file (.qbo) from the bank’s website. It could have triggered due to multiple reasons, one of them could be using the same file from the previous day which makes QuickBooks to consider there is nothing new that you would want to get from the QB program.
You might be headhunting to resolve the problem, but couldn’t. No worries! This post will help you settle the problem of no new transactions available while importing a web connect file from your financial institution. If you don’t want to invest your time in troubleshooting the problem, then you can straight away contact the QuickBooks tech support number to get assistance.
Causes of “There are no new transactions available” in QuickBooks
Following are the possible reasons for the error.
- High probability that there are no new transactions available in the web connect (.QBO) file.
- All transactions have already been imported into QuickBooks.
- The QBO statement covers the date range that has been previously imported into the company file.
- Lastly, there could be the likelihood of a damaged company file.
Steps to Fix QBO Files Import Error Message No New Transactions Available
The following are the most effective troubleshooting steps to fix the transaction availability issue in QuickBooks.
Step 1: Verify the dates doesn’t overlap
The first step is to verify that the date range is correct and doesn’t overlap. For instance, you have downloaded and imported the transactions for Jan 1 – 31, then you must set the date range for Feb 1 and beyond for the current transaction download. If you have already done it, then most likely wouldn’t have set it to classic or register mode. Check out the next section.
Step 2: Switch to Register Mode or Classic Mode
Here is how to do it.
- Start with clicking the Edit button, choose Preferences from the list.
- On the left-hand side window, click Checking and then select Company Preferences.
- Under the Bank Feeds section, click Classic Mode or Register Mode.
- Click Ok to save the settings.
Step 3: Check if the issue is with the company file, bank account, or Web Connect file!
To begin with, you will need to download a test company file. Here are the steps that you should take.
- Launch QuickBooks desktop.
- Click the File tab and select New Company from the drop-down list.
- A new screen opens saying Let’s get your business set up quickly, click Express Start or Start Setup.
- Now complete the business information and choose to Create a company in the QuickBooks setup.
- Click Start working.
- Once a new test company file is created, you need to add it to the chart of accounts. Here are the quick steps.
- Click the Lists menu and click Chart of accounts.
- The Chart of Accounts window opens, click the Account drop-down list and then click New.
- Choose the bank account and click Continue.
- Now rename the Account checking, click the button Save and Close.
- Now you may set up the account for the bank feeds as well as download the bank feed transactions to examine the test account.
- If you got success in downloading the transactions in the newly formed test file, means the issue is with the bank account or company file. Head over to the next step to fix it.
- However, if still, the transactions don’t show up in the new file, then web connect (.QBO) is at fault. Jump to step 5 to deal with the error.
Step 4: Deactivate bank feeds, create, merge and then reactivate
Follow these steps to deactivate the bank feeds
- Click the Lists tab, click Chart of accounts.
- Now you should right-click the account that needs to be deactivated.
- Click Edit
- Further, you need to choose Bank Settings.
- Now click Deactivate all online services and click Ok to confirm.
- Finally, click Save and Close.
Here are the steps to create a new bank account
- First of all, you need to visit the Lists menu and click Chart of accounts.
- The Chart of Accounts window opens, where you need to right-click on any empty space and click New.
- Continue with choosing the Bank for the account type.
- Further, under the Account Name field, you may choose the name of the financial institution.
- Finally, click Save and Close.
In the end, merge the two accounts and rename the old account with the new
- To collaborate the accounts, right-click on the Old account and click Edit.
- Under the Account Name field, you have to enter the name of a new account.
- Click Yes, on the Merge confirmation notification message.
- Finally, you need to set up the merged account for Bank Feeds.
Step 5: Investigate the errors in the Web Connect download
- First of all, you need to download the .QBO file on your desktop and save it.
- Now right-click on the file, click Open With and select Notepad or Excel.
- Examine the file for errors. Make sure the file doesn’t have special characters such as &,#, or other invalid strings.
- Next, you need to Add or Edit the missing data.
- If the Name field carries characters more than 32, the remaining characters will appear in the Memo field.
- In this case, QuickBooks won’t be able to match the payee information that appears in the memo field. It requires you to manually match the transactions.
- Also, if the Web Connect file is missing the Bank Identification Number, then the transactions won’t import hence causing an error.
- Press CTRL+F together to look for your bank official’s name.
- Now save the .QBO file and backup your file before importing.
More steps to fix the “No New Transactions Available” error message
If case you are facing the error still after following the five-step guide then you may follow the below-troubleshooting measures.
- First of all, get in touch with your financial institution.
- Talk to customer care representative having enough knowledge of QuickBooks online banking and account activation.
- Take a screenshot of the actual error message as your bank may ask for it.
Another Helpful Article: Create, Edit and Delete Memorized Transactions in QuickBooks
Call the Experts to Get of QuickBooks Error
Well, that takes us to the end of this blog. Hope, now you are able to download the bank transactions in QuickBooks. What! Are you still facing the No New Transactions Available error message? Not a problem. We are here to help you in fixing it. You can simply pick your phone, dial QuickBooks Online Help, talk to the experts and get the problem resolved.