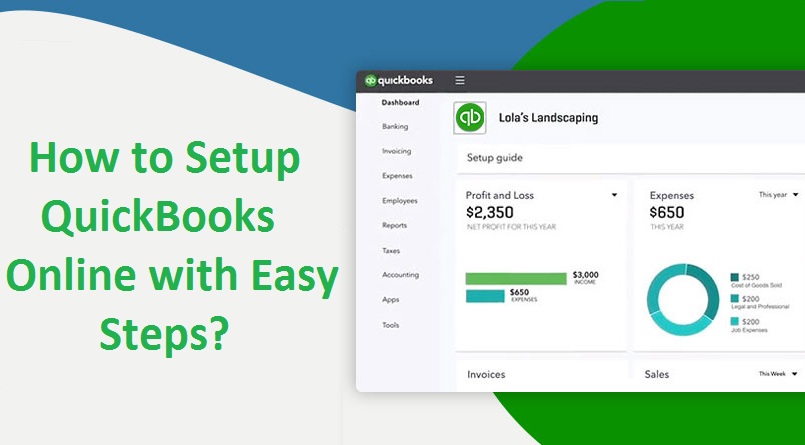
How to Setup QuickBooks Online with Easy Steps?

QuickBooks, an ultimate bookkeeping solution, enables users to perform various accounting jobs within a few mouse clicks. No matter whether you are a novice or experienced user, one can make use of QuickBooks and ease their finance-related work. However, setup QuickBooks online can be quite daunting unless you have phenomenal knowledge along with technical skills. For the flawless setup, you will need QuickBooks Accounting Help for getting the proper information about the setup process precisely.
Setup QuickBooks Online by Following Given Steps
Step 1 – Setup A Company File in QuickBooks
- First of open your QuickBooks and go to the ‘Menu’ option.
- Here, you need to open the ‘File’ section and opt for the ‘New Company’ option.
- Click the ‘Express Start’ option which is available QuickBooks dialog box.
- Here, you will have to enter the necessary information about your company such as name, type, industry, and tax ID.
- After that, click the ‘Continue’ option and enter general contact information along with the legal business name.
- Click on ‘Preview Your Company Settings’ option and then go to the ‘Chart of Accounts’ section.
- To add an account, check a mark next to the name of your account,
- To remove an account, you should again click on it to untick the checkmark.
- After completing the account list, you should go to the ‘Company File Location’ section. You can also change the location by clicking on the ‘Change Location’ option.
- Simply browse a location for your company file and click on ‘OK’ save the file in the same location.
- Click ‘OK’ to move to the contact screen and then create the ‘Company File’ option.
- After creating a company file, you should add the company data manually
Once you complete the company file, you should begin with the advanced settings of your QuickBooks.
Step 2 – Set up Advanced Settings in QuickBooks
- First of all, users should open their QuickBooks and then go to the ‘Gear’ icon.
- Opt for the ‘Account and Settings’ option and then select the ‘Advanced’ option.
- Click ‘Edit’ and you will be able to configure the setting according to your needs and then save.
- Moreover, you can also Change tax form by clicking the ‘Edit Company Type’ option and then save.
- Then, you can also change the ‘Discount Account’ setting by clicking on the ‘Edit Chart of Accounts’ option and then save.
- Hereafter, you can also click on the ‘Edit Categories’ option to change Assign Classes Setting.
- Also, you can go to the ‘Edit Automation’ option. Now, you need to apply for credits by ticking a dialogue box says ‘Pre-Fill Forms with Previously Entered Content’
- Moving to the next step will enable you to change customer labels by going to the ‘Edit Other Preferences’ option.
Once you change the advanced setting according to your needs and preferences, you can move to import transaction in QuickBooks:
Step 3 – Import Transaction into QuickBooks
- First of all, you need to open QuickBooks and select the ‘Banking’ option from the left menu bar.
- Locate Your Bank by typing the bank name in the search box.
- After that, you should enter the username and password to login to your bank account.
- Here, you will come across a list of banks and you need to select ‘Bank Accounts’ you want to connect.
- Now, you will have to choose the Right Date Range according to your needs and once done, click the ‘Connect’ option.
Once the transaction files downloaded successfully, you should review them meticulously.
Step 4 – Set Up Multiple Users in QuickBooks
- Open QuickBooks and reach out to the ‘Gear’ icon.
- Select ‘Manage Users’ option available under your company.
- Now, you need to click on the ‘Accountants’ tab and enter the correct email address of your users.
- After that, you have to click on the ‘Invite’ button to send the invitation to the accountants.
- By repeating the steps again and again with a different email address, you can send multiple invitations.
- Once you send the invitation, users will receive a signup link which will take them to page to create a user ID for QuickBooks.
Once you send the invitation, users will receive a sign-up link which will take them to page to create user ID for QuickBooks.
Step 5 – Set Up New Customer in QuickBooks Company File
- For the purpose of setting up your customers, you should first of all open QuickBooks and go to ‘Customers Center’.
- To create a new customer, you should click the ‘New Customer button’ option. Once done, you have to enter the information about customers such as email address, phone number, business name, and others.
- Enter other related information such as contact names, tax information and others.
Significant Tips to Leverage QuickBooks At Its Best
- It would also be wise to choose the right version of QuickBooks which suits your business.
- You should make use of expert’s backing for the purpose of setting up QuickBooks.
- Avoiding creating account with the name of customers and vendors.
- It is also a recommendation to never mix personal and business funds at any cost.
- Make use of QuickBooks storage facility for storing essentials documents, contracts and others.
Setup QuickBooks Online with the Help of Experts
There is no shocking that problems are arriving while working on QuickBooks. However, QuickBooks online setup is easy in case you face any issue contact QuickBooks Helpdesk Number. As it remains active 24 hours a day, you can approach the techies at anytime from anywhere. Also, these professionals will properly assist you and help to have an error-free experience.