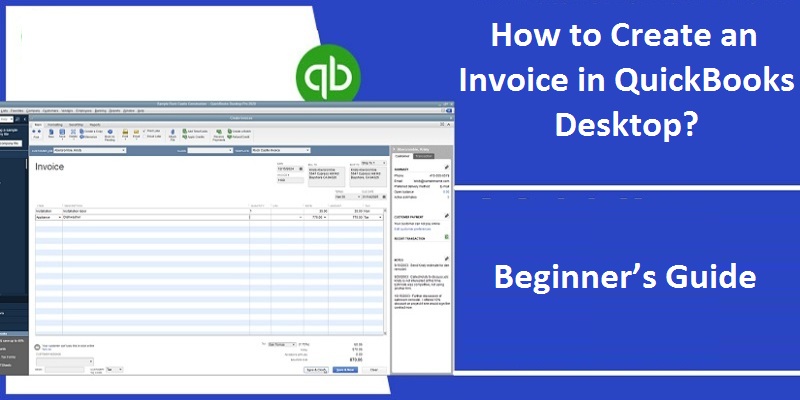
How to Create an Invoice in QuickBooks Desktop? | Beginner’s Guide

Want to create an invoice in QuickBooks but don’t know how to do it? Luckily, you’ve landed on the right page because today, we will explain to you the procedure of creating invoices in QuickBooks. Invoices help not only the buyers but the sellers in keeping a track of all the transactions and manage the cash flow just finely.
QuickBooks Desktop allows you to create invoices that you can send to all your buyers. If you are worried about the procedure, then we must tell you that it is not that complicated and you can do it easily by following the steps mentioned in this blog.
But before you learn how to create an invoice in QuickBooks, you must be aware of all its benefits.
What are the Benefits of Creating Invoices in QuickBooks?
Whether you are a startup or an already established business, sending invoices to your client helps you in various ways. One can create invoices on QuickBooks Desktop easily if aware of the correct procedure.
First of all, it will let you email the invoices to your buyers and clients directly from the QB software itself.
Moreover, it updates your financial statements in real-time, lets you keep a record of all the sales, works as a legal proof for both buyer and seller, and ensures that you paid the right amount. Besides, it can be helpful for businesses on a larger scale, such as it helps you estimate the buying patterns of products.
Now that you know how beneficial it is to create an invoice in QuickBooks, you are ready to learn the procedure of the same. In this blog, you will find the steps that you can use to create invoices in QuickBooks desktop.
Steps to Create Invoice in QuickBooks Desktop
If you are a novice to QuickBooks and don’t know how to create invoices on it, then you can stop worrying now.
Given below are the steps that will help you create invoices on QuickBooks Desktop easily and quickly.
- First of all, you need to launch QuickBooks on your device and go to create the invoices tab.
- Now, select the customer type or job from the shown drop-down menu. If you can’t find the relevant option, add it by hitting Add New.
- Fill up all the necessary details required, such as the date of the invoice, sold to, terms, etc.
- After that, select the item that you are selling to your customer.
- If there’s any discount applied to the transaction, click on the create a discount item option.
- Head to the menu option on your home page and select the item list.
- Place your mouse cursor anywhere on the blank screen and select New.
- Click on the drop-down menu and select any one of the discount options.
- You need to mention the name of the item, the item number and a description of the same.
- Enter the discount amount or percentage or leave the option blank. You can also add the discount afterward on the sales forms directly.
- Enter the tax code of the item and then click OK.
- At last, click on Save and Close to finish.
How to Create a Sales Order Invoice on QuickBooks?
You can also create invoices for the sales orders directly from QuickBooks. Basically there are two ways to create a Sales Order invoice, first from the Invoice window and another from the Sales Order window.
To know how to create sales order invoice on QuickBook, use the steps given below:
-
Steps to Create Invoice from Sales Order Window
- Go to the Sales order tab and select the create invoice option.
- Next, you need to add the sales order items.
- After successfully adding the items, hit the create an invoice option.
- Fill the required details, and after that, click on Save.
- Click Close to finish the task.
-
Step To Create Sales Order Invoice from the Invoice Window
- On the home page of QuickBooks Desktop software, go to create invoices option.
- Now, select the suitable option by clicking on the customer: job menu.
- Here you need to select one or more sales orders according to your preference.
- Make modifications to your invoice details as required and then click on Save.
- Hit Close to finish creating an invoice for the sales order.
How to Create Estimate Invoice?
QuickBooks also allows you to create invoices for customers who have accepted your estimate. This way, you can easily convert your completed estimate to an invoice and manage it properly on QuickBooks.
- First of all, you need to navigate and open the estimate on your PC for which you want to create an invoice.
- Now, select the create invoice option.
- If the progress invoicing option is enabled, you need to mention the items and quantities you need to include in your invoice.
- After that, make any necessary modifications to your invoice and hit Save.
- Click Close to go back.
You can also create an invoice for your estimate directly from the invoice window. To do so, you must follow the steps given below:
- On the home page of QuickBooks desktop program, go to create invoices.
- Select a suitable option in the customer: job menu.
- When the estimates window will appear, select the right option.
- You can only choose one estimate at a time.
- Edit the invoice as you prefer and click Save.
- Hit Close to go back and send the invoice to the buyer.
We hope you have successfully learned how to create an invoice on QuickBooks by now.
In case if you are facing any problem, feel free to contact QuickBooks Desktop Support for assistance. We are third party QuickBooks support who can help you with all your QuickBooks issues. Whether you are not able to complete QuickBooks setup or getting errors or facing any other problem, don’t just wait there and contact our QuickBooks Help experts.